Author:HB Nonwoven MachineryFROM:Compressed Towel Machine Manufacturer TIME:2023-11-17
Introduction:
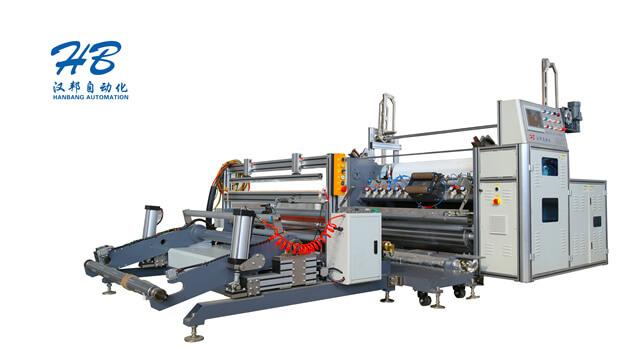
The non-woven fabric industry plays a crucial role in the production of various products, including diapers and sanitary pads. To meet the increasing demand for these essential items, the installation of a non-woven fabric making machine is necessary. This article will provide a step-by-step guide on how to install such a machine.

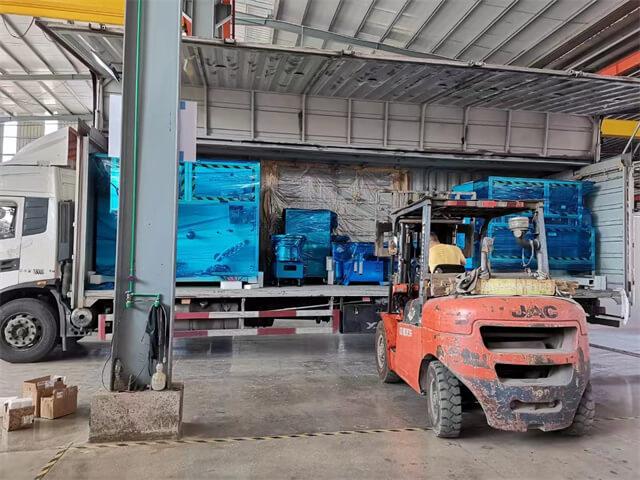
Before installing the non-woven fabric making machine, it is important to prepare the installation site properly. Clear the area of any obstacles or debris and ensure there is sufficient space for the machine to operate efficiently. Additionally, make sure the site has access to necessary utilities such as electricity and water.

Once the installation site is ready, unpack the non-woven fabric making machine carefully. Inspect all the components to ensure that nothing is damaged. If any parts are found to be damaged, contact the manufacturer for replacements before proceeding further.

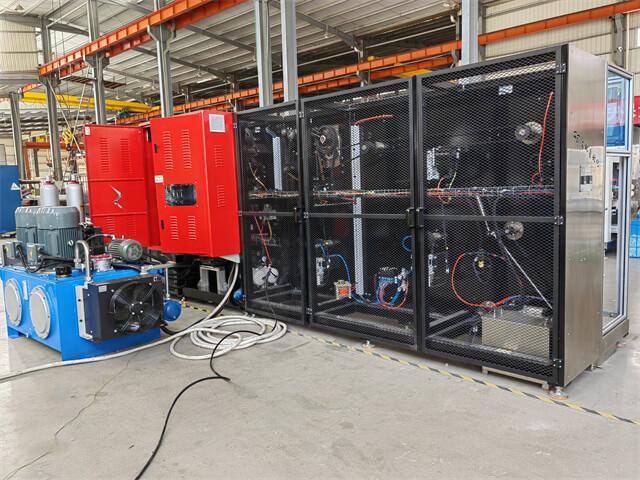
Begin the installation process by assembling the frame of the non-woven fabric making machine. Follow the manufacturer's instructions and use the provided tools to securely connect the frame components together. Double-check all connections to ensure stability and safety.
Next, install the conveyor system of the non-woven fabric making machine. Properly align the conveyor belts and rollers, ensuring they are level and aligned with the frame. Securely fasten the belts and rollers utilizing the provided hardware to prevent misalignment during operation.
Mount the control panel in a convenient location near the machine. Connect all the necessary wiring according to the manufacturer's instructions. Test the control panel to ensure it is properly functioning and can effectively regulate the machine's operations.
Attach the fabric feeding system to the non-woven fabric making machine. Ensure that the feeding mechanism is properly aligned and secure. Adjust the settings to accommodate the desired fabric size and thickness, following the manufacturer's guidelines.
Connect the machine to the necessary utilities, such as electricity and water. Follow all safety guidelines to prevent electrical hazards or water damage. Test the utilities to ensure they are functioning correctly and monitor their performance during operation.
Before starting full-scale production, conduct thorough testing and calibration of the non-woven fabric making machine. Test different settings and parameters to optimize the output quality. Make final adjustments to achieve the desired fabric characteristics, such as thickness and texture.
In conclusion, the installation of a non-woven fabric making machine requires careful preparation, assembly, and calibration. By following the steps outlined in this guide, one can successfully install and set up the machine for efficient production. Remember to consult the manufacturer's instructions and seek professional assistance if needed to ensure a smooth installation process.


 Tel: +86-18350778618
 Email: info@qzhanbang.com
 MP/WhatsApp: +86-18350778618
 Manufacturer Address:No. 80 Yuanxi Road, Xixiliao Village, Anhai Town, Jinjiang City, Quanzhou City, Fujian Province